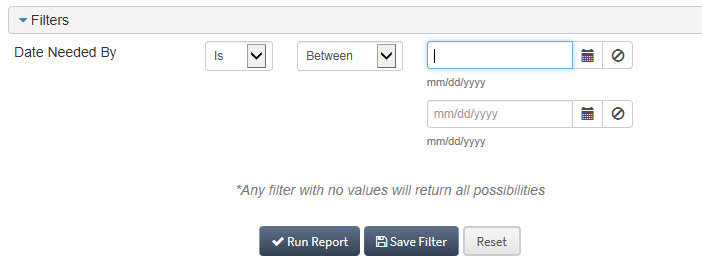
Use Report Filters
You can use report filters to specify the data that displays on your report.
To use condition/filter options:
-
Expand the
Filters section to view the available options.
-
Select the criteria you want to use to filter the report.
Keep in mind that selecting none of the options is the same as selecting all filter options.
Depending on the type of option, there will be different “operators” shown:
-
is/is not: Selecting is not will return all values except the selected value
-
Equal to: Checks if the value is equal or not
-
Greater than
-
Greater than or Equal to
-
Less than
-
Less than or Equal to
-
in/not in: Matches a value in a list (or not)
-
- Click Run Report to execute the report or Save Filter to save the conditions you selected for future use.
-
If you choose to save your filter, you will be asked to enter a value in the
Condition Name field and to type a brief description in the
Condition Description field.
Select the Public? check box if you want to render your filter criteria visible to other users who view the report.
The saved filter is displayed under the Saved Filters section, with an option to run it or delete it.
-
If you mark a filter as the
Default, it will be used for distribution lists on any scheduled runs of the report.
When you create or edit the distribution list for a scheduled report, the report’s default condition is pre-selected when the dialog is displayed.